How-to: Ink Resist with Bold Embossed Images
Are you scared of bold embossed images on your card? Don’t be! They make a serious statement! In this ink resist card, I used bold embossed images with an ink blended background. This card comes together quickly and is just so beautiful. Let’s take a look at how to use bold embossed images on a card and what products I used.
Links to the products used are below. Some links are affiliate links which means I get a small commission from your purchase at no additional cost to you. This is how I pay for my stamps, inks, and tools for content on my website. Full disclosure here. Thank you for your support.
Products Used
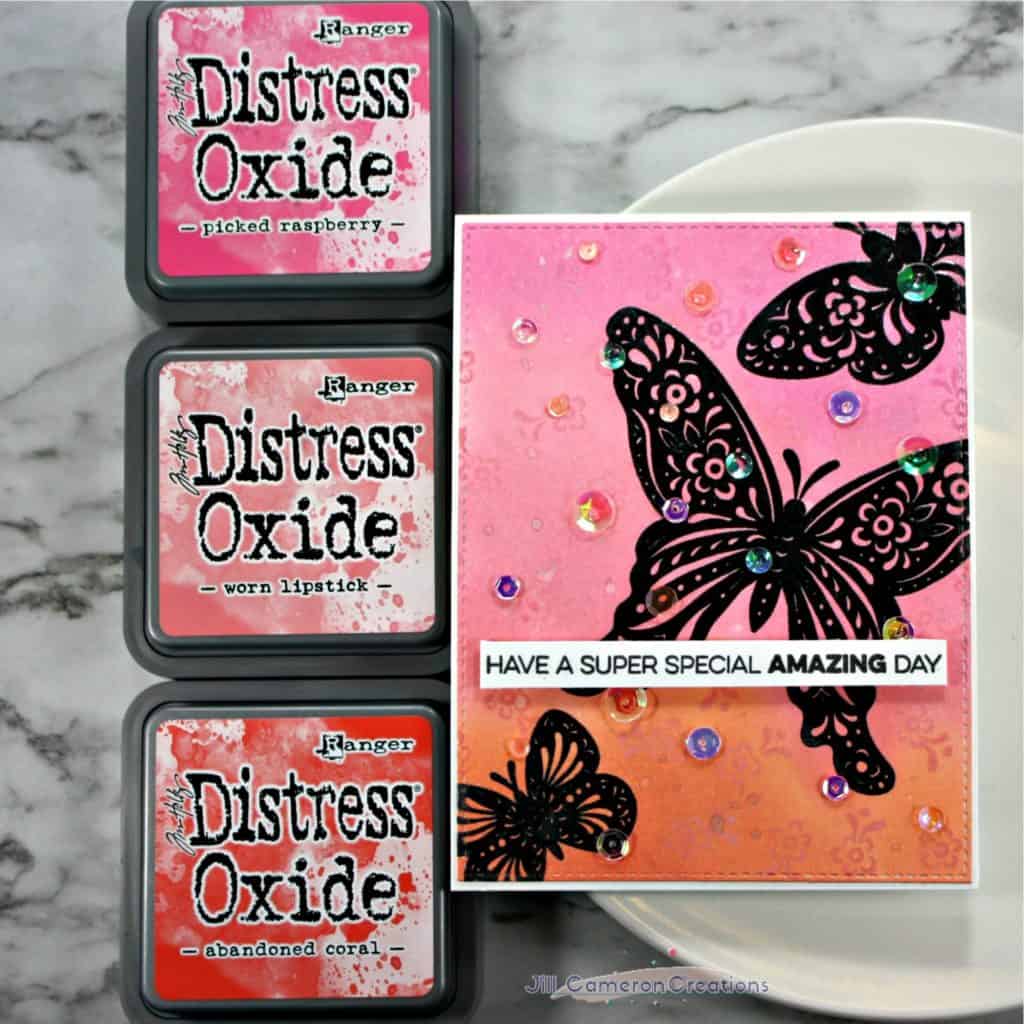
Distress Oxide Inks: Picked Raspberry, Worn Lipstick, Spiced Marmalade
Versafine Onyx Black Pigment Ink
Clear Embossing Powder
Ink Blending Tool
Iridescent Clear Sequins
Foam Tape
Butterfly Folk Stamp Set by Papertrey Ink
A2 Stitched Rectangle Set 1 and Set 2
Be sure to check out my most used products here
How-to: Ink Resist with Bold Embossed Image
- Start with a 4 1/4″ x 5 1/2″ panel of Neenah Solar White 80lb cardstock. I like using this cardstock because it is super smooth. It’s great for everything from ink blending to Copic coloring.
- Next, use an anti-static powder tool over the entire surface of the panel. This keeps the embossing powder from sticking to the wrong places.
- Stamp your images. I used my MISTI to stamp my images however, an acrylic block will work just fine. I wanted my images to be bold embossed images so I used Versafine Onyx Black Ink. Versafine is a pigment ink that is amazing for detailed images and even sentiments. The main image on my card is slightly off center for more visual interest. If you’re using a stamping tool, you can stamp all three images at the same time.
- Then, grab your handy-dandy coffee filter and pour clear embossing powder over the stamped images.
- Before you bring a heat tool to your cardstock, make sure the heat tool is good and hot. This will reduce the amount of paper warping. Melt the embossing powder with the heat tool until it is nice and smooth.
- Be sure to let the paper cool for a moment before moving on to the background.
- Now, use Distress Oxide inks with an ink blending tool for a buttery smooth background. I also stamped a few of the smaller images from the stamp set in the background. I used the same Distress Oxide ink.
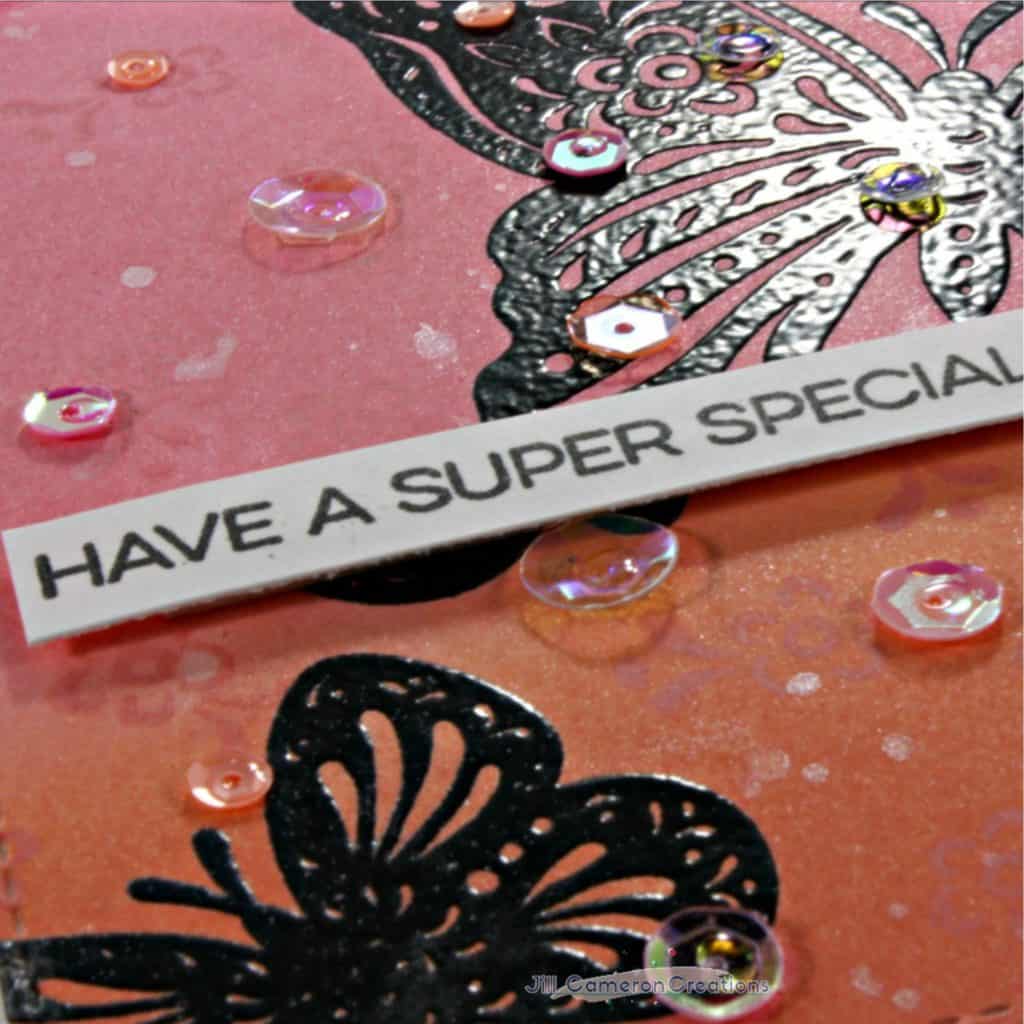
- To give some added interest, use Perfect Pearls mixed with some water and add splatters.
- I finished off the card by trimming down the panel with the largest A2 stitched rectangle frame and adding some iridescent sequins.
- Use a sentiment that fits your card. I wanted an encouragement card so I just added a simple strip from a My Favorite Things Stamps.
Give it Try!
And now you have a bold embossed image card that really makes a statement! These cards are so much fun and super simple to make! I think this card took me about 15 minutes to make. Seriously. Why don’t you give it a try? I’d love to see your creations. Share them with me on social media. Add the tag #jccreations and I’ll see it!
Check out this other Ink Resist and Bold Embossing technique card Hearts and Hugs Emboss Resist


One Comment
Comments are closed.