MTCC 1 – Valentine Card
Hello! Today we are making an adorable Valentine’s Day card inspired by the new challenge from Make the Cards Challenge. Make the Cards Challenge is a brand new weekly challenge blog for card makers. There’s a new and different challenge every week. It includes sketch challenges, color challenges, theme challenges, and more. The design team is amazing and I can’t wait for you to see the amazing cards they designed.
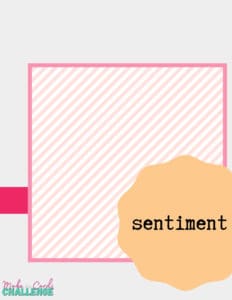
Here is the sketch for the challenge.
>>>>>>CLICK HERE TO ENTER THE WEEKLY MAKE THE CARDS CHALLENGE<<<<<<
Valentine’s Card for Make the Cards Challenge
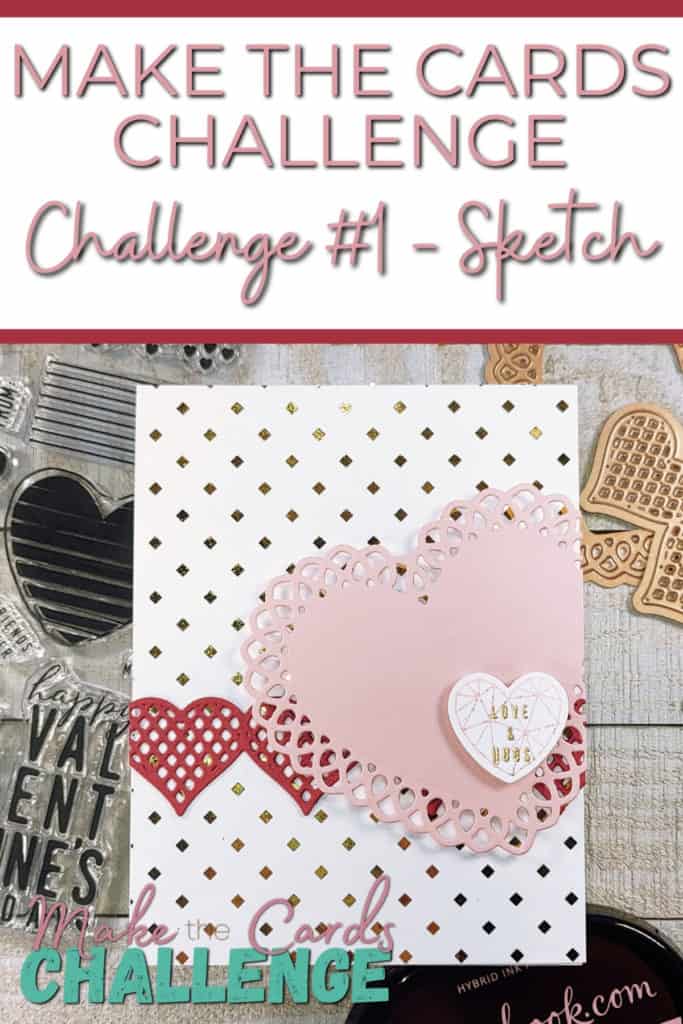
Let’s talk about this super quick and cute card. I did some simple die cutting and foiling to get this amazing look.
Maker Forte has this black and white patterned paper that you can foil. It make creating a foiled back ground so simple. You just need a laminating machine, you know one of those from the office supply store, and of course foil. DecoFoil is the best for this since Glimmer Hot foil won’t work.
I selected a simple diamond pattern from the paper pack and gold foil to create a background.
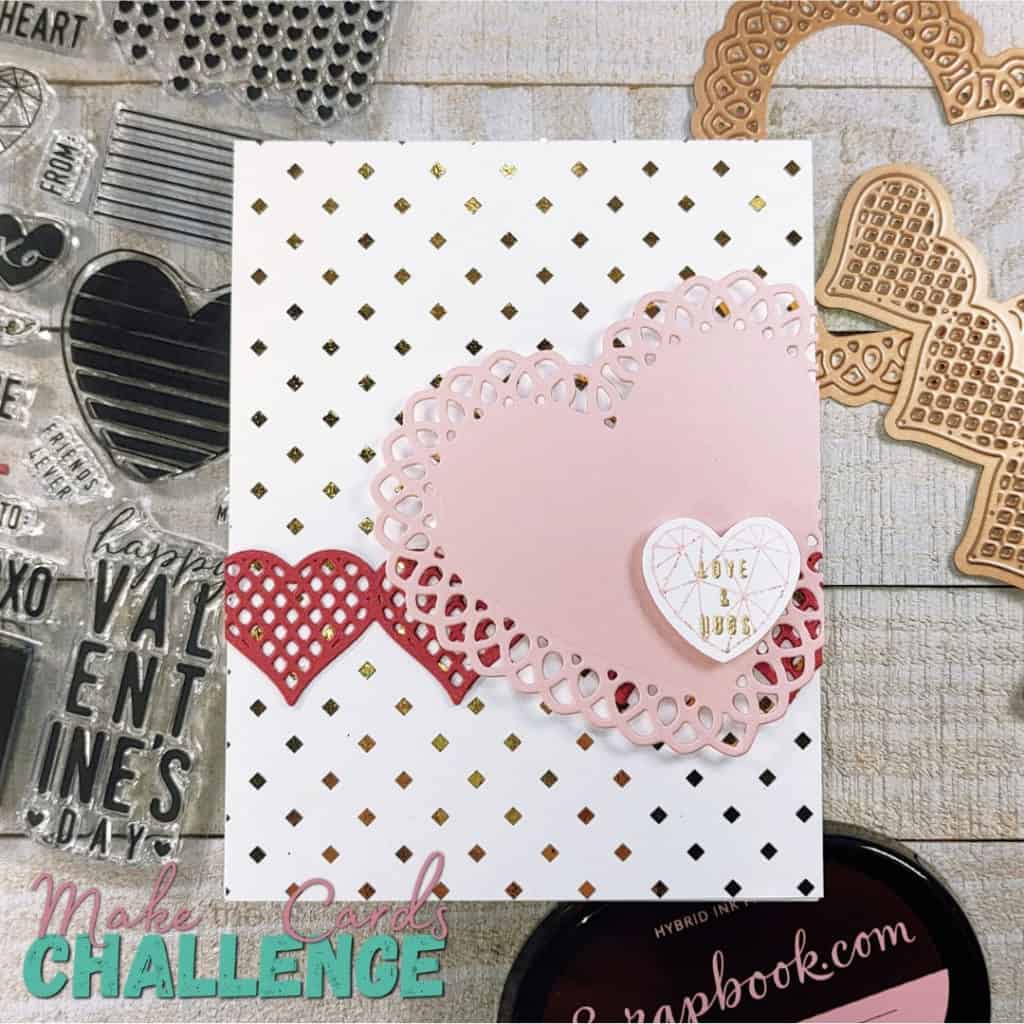
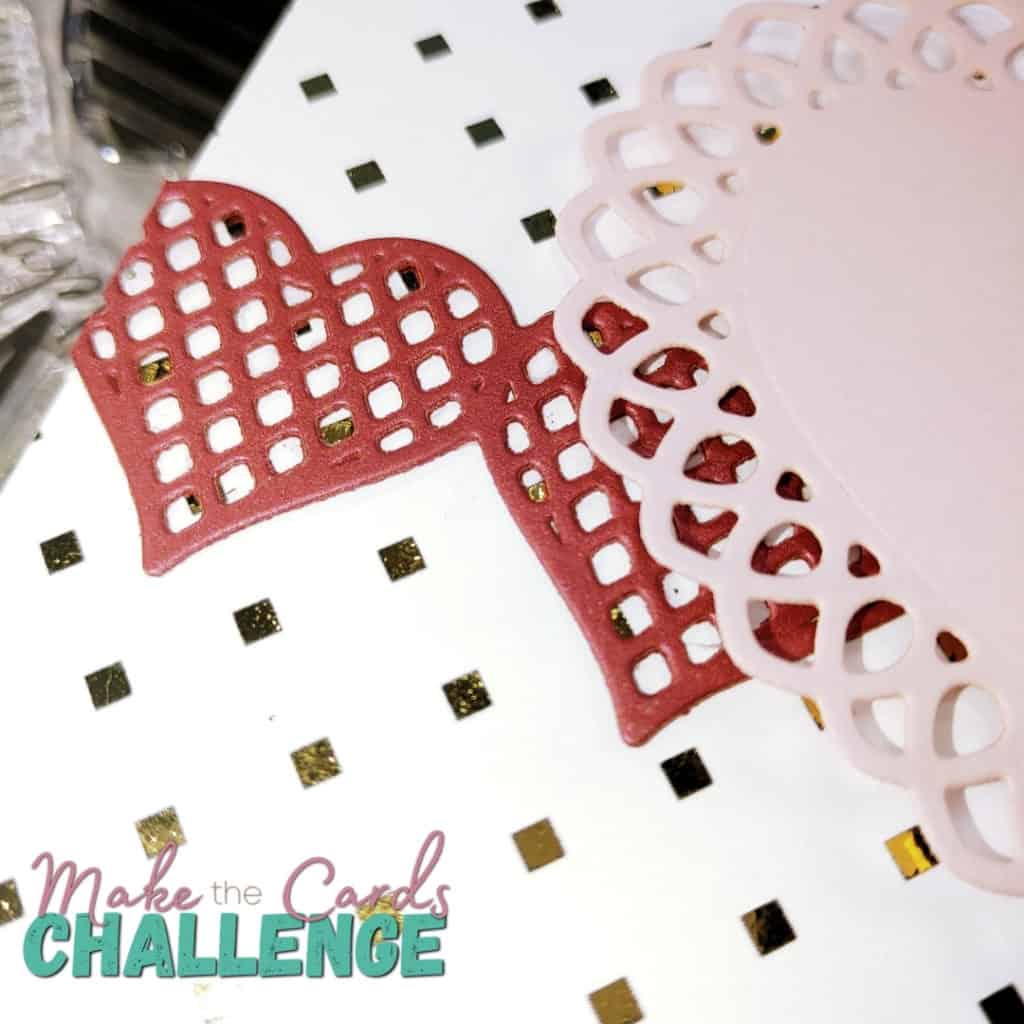
Next, I die cut the heart border from heavy red cardstock that has just subtle shine to it. I glued this to the background slightly below midway down the panel. TIP: You can create your own shiny red cardstock by spraying your red cardstock with a mist of Perfect Pearls or Kaleidoscope Powders. Be sure to allow the paper time to dry before you die cut it.
The border die I used is from Spellbinders. I think it was from a monthly kit from several years ago. I couldn’t find it so I included some options in the links at the bottom.
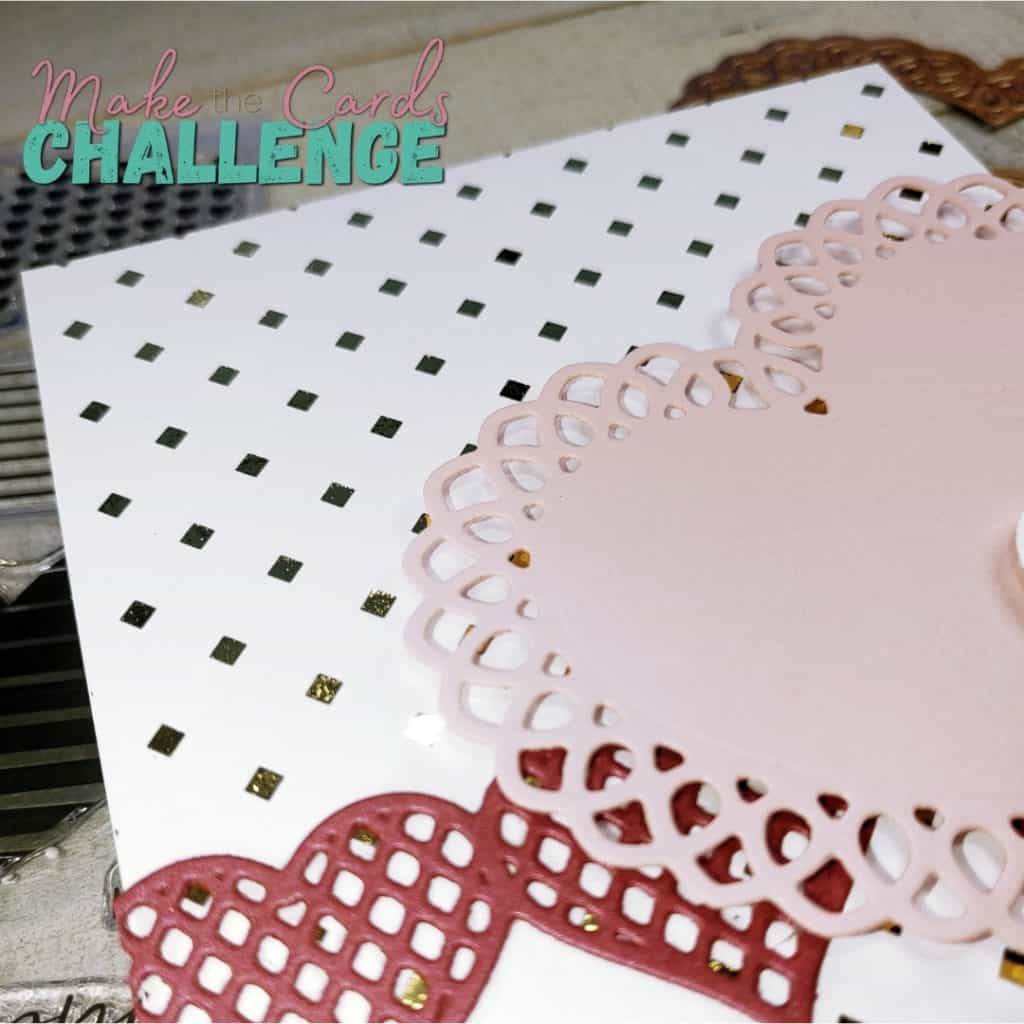
Then, I die cut the large heart from light pink cardstock. I popped the heart up using foam tape at a slight angle off the edge of the panel.
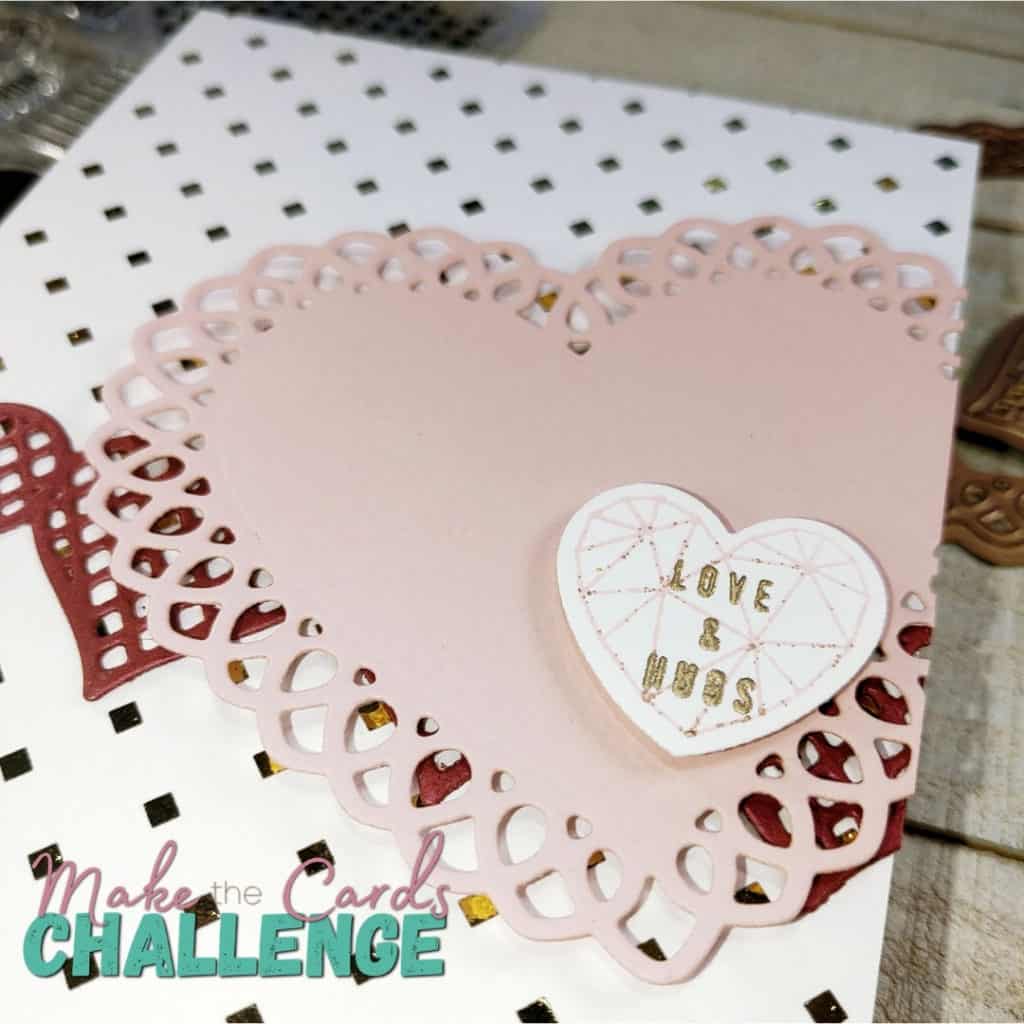
For the sentiment I stamped the geo heart from the Concord & 9th Little Love Tags set in matching pink ink. Then I stamped the sentiment in Versamark and heat embossed the message with gold embossing powder. There’s a coordinating heart die for the heart image and I used that to trim out the heart. I used foam tape to pop the sentiment up as well.
I finished the card off by gluing everything to a top folding note card on heavy white cardstock. I used a pair of scissors to trim off the excess cardstock hanging over the edge of the card. TIP: Flip the card over so the front of the card is facing away from you and use the card base as a guide to trim away and overhanging cardstock. You’ll get smoother cuts this way.
I hope you enjoyed this quick card and head over to the Make the Cards Challenge to join in the fun!
Affiliate Disclosure Policy
This post contains affiliate links for your convenience. This means if you make a purchase after clicking a link, I will get a small commission with no additional cost to you as the consumer. Jill Cameron Creations/Jill Lipscomb participates in the Amazon Services LLC Associates Program, an affiliate advertising program designed to provide a means for sites to earn advertising fees by advertising and linking to Amazon.com. For full disclosure policy click here.



Just perfect and absolutely beautiful! I’m so thrilled to be a part of this talented team! Thanks for fabulous inspiration!
Thank you! And y’all are amazing!
This is simple and stunning! I love the foiling touch you added and how simply it was done! You have so many great details on your card, yet it is clean and simple. Lovely!
Thank you so much Kim!
What a beautiful valentine card you made ❤️
Thank you Andreja!