Stamp and Die Storage
Stamp and die storage is a struggle for any crafter. How do you store stamps and dies without spending a pile of money AND keep them handy? I have a two-part solution for you right here! It doesn’t cost an arm and a leg. It will save you time in finding what you need when you need it. And best of all, it’s easy to implement.
Links to the products mentioned are at the bottom of this post!
Stamp and Die Storage
I’ll be honest, I used to spend hours putting my new stamp sets and dies in new pockets with pretty white backers and pretty typed labels on the pockets. It cost me more time and money than I wanted to spend on storage. More money towards my stamps and dies sounded a lot better to me so I needed to come up with something else.
There are lots of options out there for storage pockets but if you search specifically for stamp storage pockets you’ll find a limited number of options and let’s face it they’re kind of pricey. Are the stamp and die storage pockets high quality? Yes, of course, they are! But are these pockets any better than other options out there? Nope!
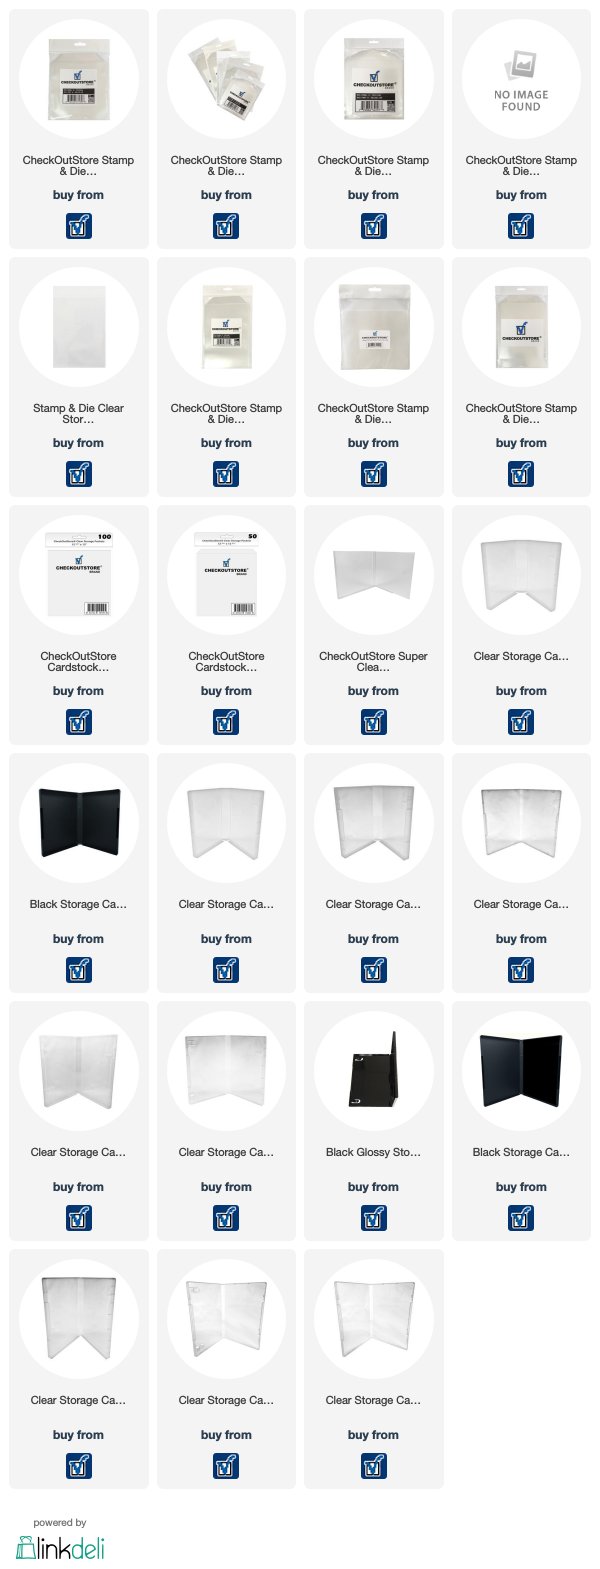
So what are your stamp and die storage options? I found these amazing pockets from a company that specializes in nothing but poly bags in various sizes. They are perfect for stamp and die storage and the price is perfect! (Do you like to box your stamps like from Stampin’ Up! and Close to My Heart? Guess what! They’ve got those too!)
Here’s the key to the storage pockets. Keep the original backer board from the stamp set. Don’t worry about closing the flap on the top of the pocket. Most all of the stamp sets sold today have the name of the stamp set printed on them so there’s no need to add a label to the outside of the pocket.
Now, die sets pose a slightly different problem. There’s usually some leftover adhesive on the backer board so what do you do about that? I pull off the adhesive and add a magnetic sheet for my dies to the backer board. The name of the die is usually on the backer board so no need to add a label for the dies either.
For die sets that coordinate with the stamps, I put the dies on a magnetic sheet and store them in the same pocket as the stamps.
But aren’t magnetic sheets expensive? Pre-cut magnetic sheets can be really expensive. I found some inexpensive magnetic sheets! They have a sticky side but you don’t have to peel the paper off to use it.
Stamp and Die Inventory System
I developed an easy system to keep track of all of my stamps and dies using Evernote. It works for visual people and readers alike. I don’t know about you, but I have a ton of stamps and dies in my collection. I quickly realized I needed a way to keep track of all of the different sets 1) so I wouldn’t buy the same item twice, which has happened a time or two, 2) to be able to easily find stamps or sentiments via a search.
Who could possibly remember all of the sentiments and images included in every stamp set? I guess someone with a photographic memory could. LOL! But I know I sure can’t! My method will help you get a handle on all those craft supplies so you can select just the right item you need at just the right time.
So I as mentioned I use Evernote to tame the craft supply craziness. What exactly is Evernote? Think of it as a filing cabinet to store your entire crafty life that is totally, 100% searchable. Searchable is the important part here! Evernote is PC and web-based. It is accessible from any device. Better yet, changes made on one device automatically update across all devices instantly. Best thing ever!!! I have a step-by-step tutorial at the end of this post that goes through how to set-up Evernote to create your own master list of craft supplies. Here’s the quick set-up:
- Set-up an account with Evernote (it’s free!)
- Decide how you will sort your information. This is important. Do you want to sort it by company, theme, alphabetically, or another way?
- Download the desktop application. Trust me it makes life so much easier.
- If you use Google Chrome or
FireFox as a web browser, install the Evernote extension. It’s amazing!! You can clip anything from any webpage. - Open the desktop application. There are several getting around tutorials that are great for basic information about Evernote or click the link for helpful articles and how-tos https://help.evernote.com/hc/en-us/categories/10681-Using-Evernote
- Create the first notebook. This is your filing cabinet. It will contain all of the notes or files with all of the information for your stamp or die sets. Title the notebook according to your preferred method of sorting.
- Create the first note. This is the information about a single stamp or
die set, your first file in your filing cabinet. You can include a picture, tags, and even a typed list of all of the sentiments on the stamp set. - Keep going creating notebooks and notes. All of the information is searchable.
Are you looking for other craft room solutions? Check out this post on Alternatives to Ikea in your craft room.


One Comment
Comments are closed.