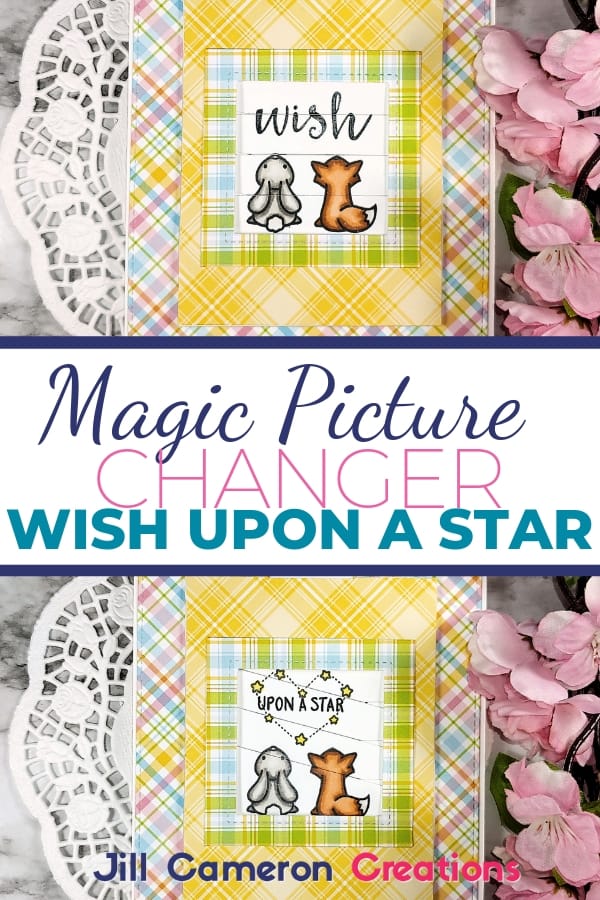
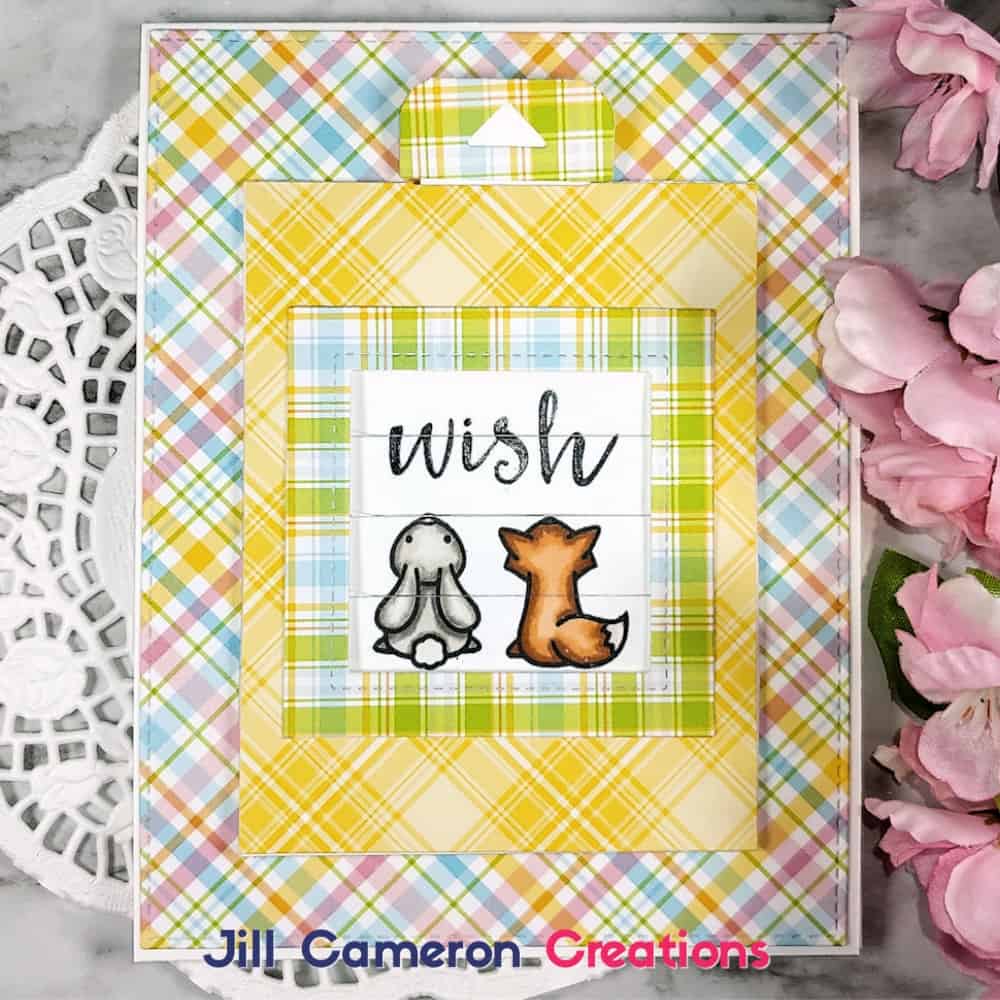
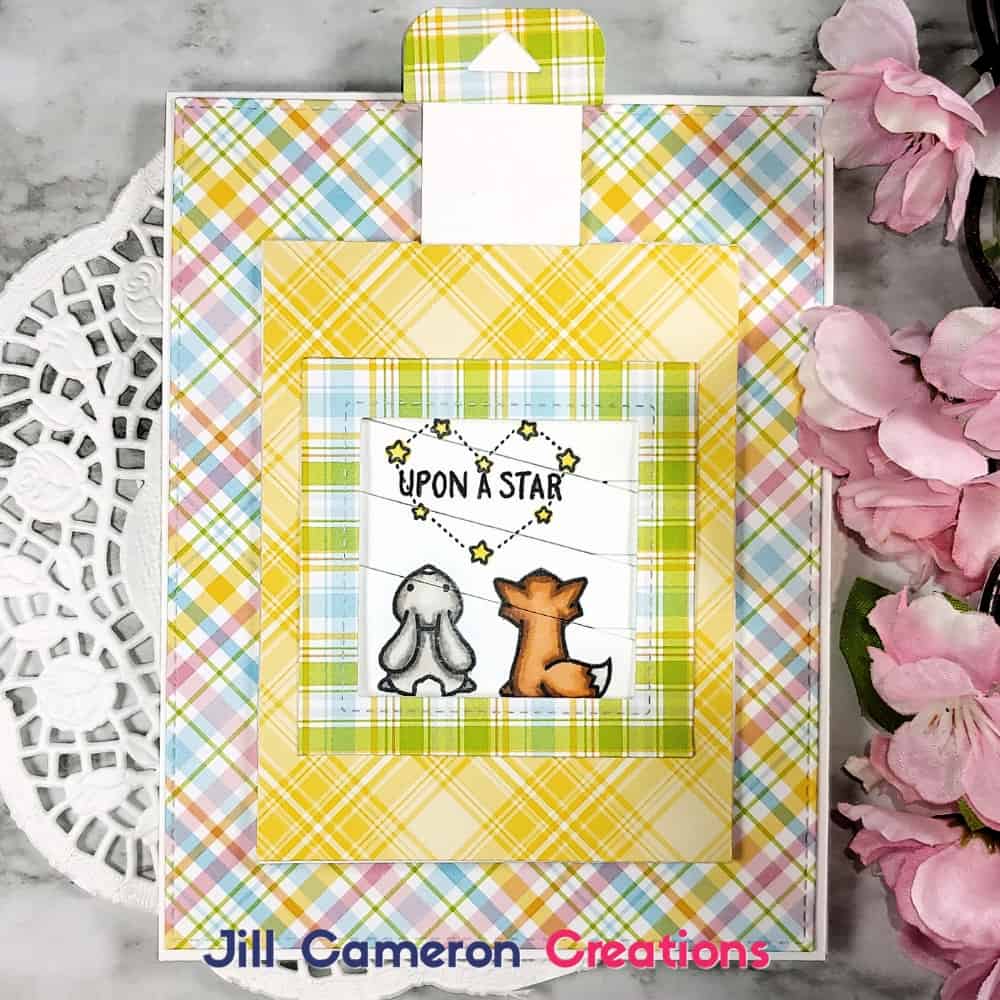
Magic Picture Changer – Wish Upon a Star
This is my third installment of the Lawn Fawn interactive card series. The Magic Picture Changer is the newest die from Lawn Fawn that allows anyone to create AMAZING interactive cards. It is so totally cool! I have some tips and of course a video for you to create this card without a hitch (unlike me).
All of the products used are linked at the bottom of this post including the double sided tape line from Scrapbook.com that I talk about in my video.
Affiliate Disclosure Policy
This post contains affiliate links for your convenience. This means if you make a purchase after clicking a link, I will get a small commission with no additional cost to you as the consumer. Jill Cameron Creations/Jill Lipscomb participates in the Amazon Services LLC Associates Program, an affiliate advertising program designed to provide a means for sites to earn advertising fees by advertising and linking to Amazon.com. For full disclosure policy click here.
Magic Picture Changer
There are only two pieces to die cut to make this beauty work. Isn’t that nifty? So, what do you need to know to create this card without any issues? There are a few things.
- If you don’t have the accessory cover die set you’ll need to mark where the die windows are when you stamp your scene. This way you won’t color too far out of the scene and onto the front part of the card panel unless of course, that’s what you want to do.
- The square that comes with the Magic Picture Change die set is slightly smaller than the scene. If you don’t want anything to get cut off, use the next to the smallest die from the Lawn Fawn Stitched Square Frames die set. It works perfectly. Just remember, adhesive only goes from the inside corner to the outside corner on that. If you put adhesive all the way around the picture won’t change.
- Use an anti-static powder tool! Put it all over the parts that slide against each other and on the edges of the inside track. This ensures the Magic Picture Changer works properly and doesn’t get hung up on any extra adhesive.
- While you can use any stamps you want to for this, I think smaller stamps look better inside the window because they fit.
What went wrong for me?
When I get a new set like this, I’ll create a test card to see how the parts go together. And my test card went off without a hitch. So, I went on and started filming and putting together the card for this post. Once I adhered the mechanical pocket part onto the front of my card, everything kind of went awry.
I didn’t use anti-static powder tool on the inside or moving parts. And guess what! Something got hung up and tore my moving parts. I didn’t throw out the card!
I took a penknife and carefully cut open the pocket. I found the two areas that tore and used some washi tape to fix the areas. One area was a weak point where the paper had bent. The other area the paper was torn completely. I put washi tape on the backside of the area that was torn but left enough to fold over to the front. This was the tiniest piece of tape ever! I put a teeny-tiny dot of glue on the torn area for strength and then folded the washi tape over. I let it dry and it was fixed.
Lastly, I used my anti-static

