Create a Background with Tiny Stamps
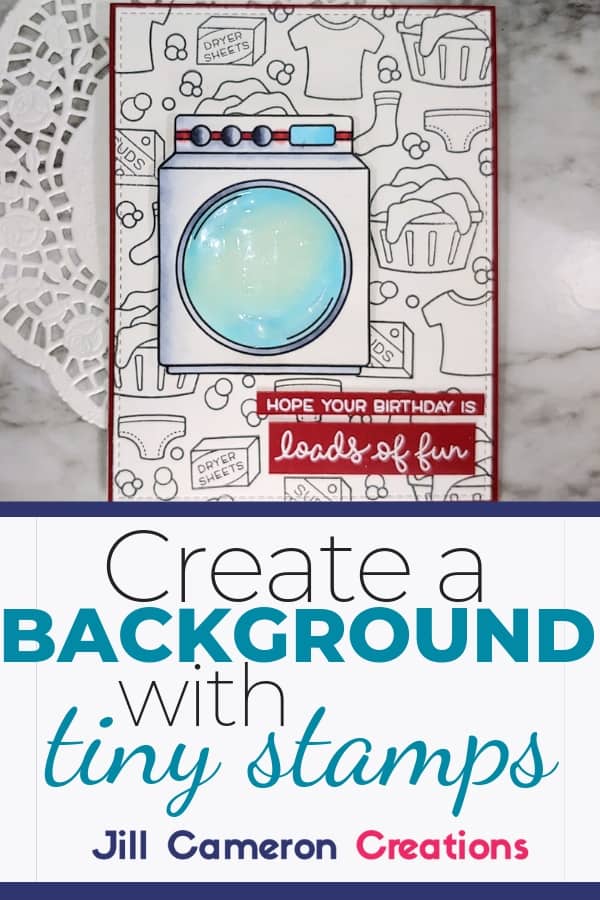
You’ve got a bunch of stamp sets with these tiny stamps, right? Those tiny stamps are great to color and die cut to create an amazing little scene on a card. But those same stamps are GREAT to create a background for your card! And that’s just what I did for today’s card.
I will say that I’m rather partial to Lawn Fawn stamp sets for this. Most all of their stamp sets are created to go together so the size of the images match up. But you can do this with so many stamp sets with other companies as well. Keep reading for more ideas on how to use tiny stamps to create a background for your next card.
Affiliate Disclosure Policy
This post contains affiliate links for your convenience. This means if you make a purchase after clicking a link, I will get a small commission with no additional cost to you as the consumer. Jill Cameron Creations/Jill Lipscomb participates in the Amazon Services LLC Associates Program, an affiliate advertising program designed to provide a means for sites to earn advertising fees by advertising and linking to Amazon.com. For full disclosure policy click here.
Create a Background with Tiny Stamps
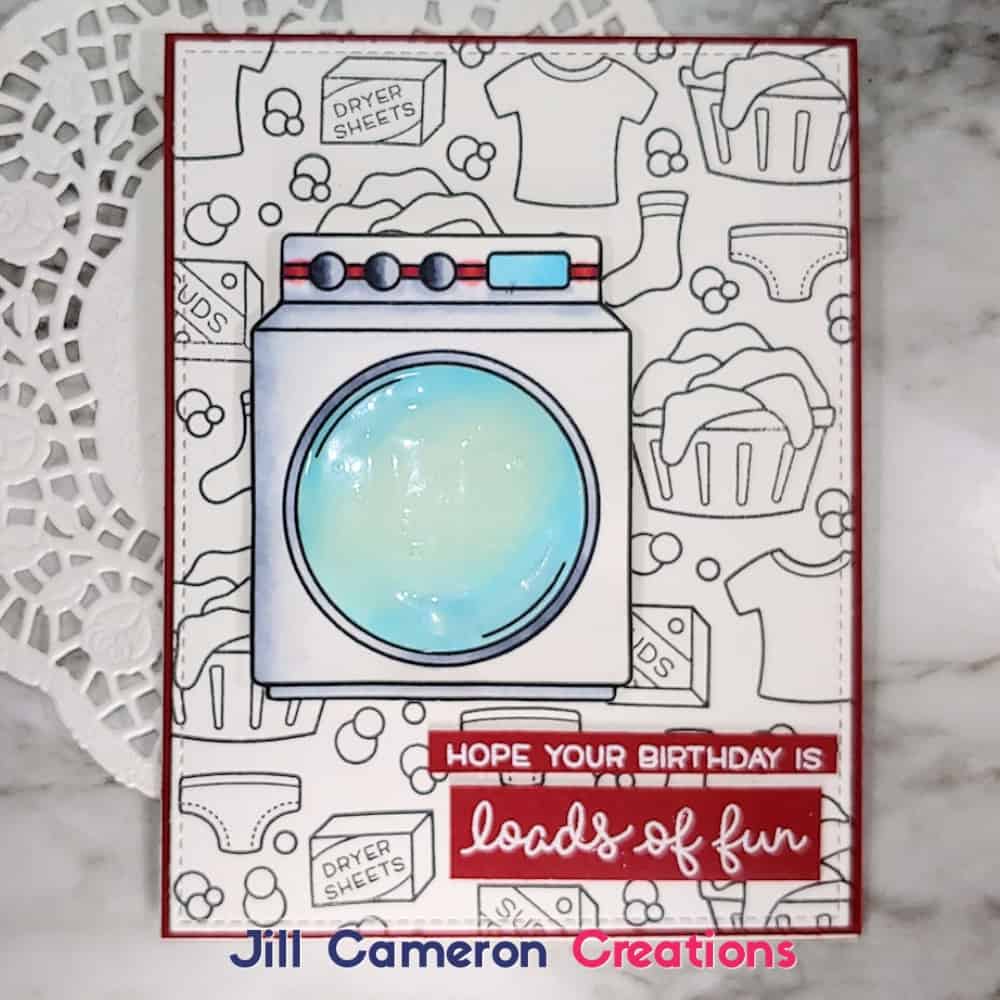
When you create a background with tiny stamps there are a few things to keep in mind.
First decide if your images are going to straight or wonky- Start in the corner and work
you way down. - Stamp some images off the sides of the paper.
- Use the tiny little hearts, bubbles, or flowers to fill in the holes so the background is really full.
- You don’t have to color in the images. You can leave it just the outline images if you want to.
- Use acrylic blocks for this instead of a stamping tool unless you’re planning on making several backgrounds. But even then I find the blocks much faster.
Here are some ideas on how to stretch those stamps even further.
- Stamp the images in pigment ink on dark cardstock. Use white or a really fun, brightly colored pigment ink.
- Partially color in the tiny images pencils or markers.
- Stamp in Versamark ink and emboss in a fun color. Add some inking and do an emboss resist technique.
- Use tiny flower stamps and stamp each flower in spring colors on a white background.
- Create an alcohol ink background and use Alcohol Lift Ink to stamp tiny images all over it.

