3D Box Card Tutorial
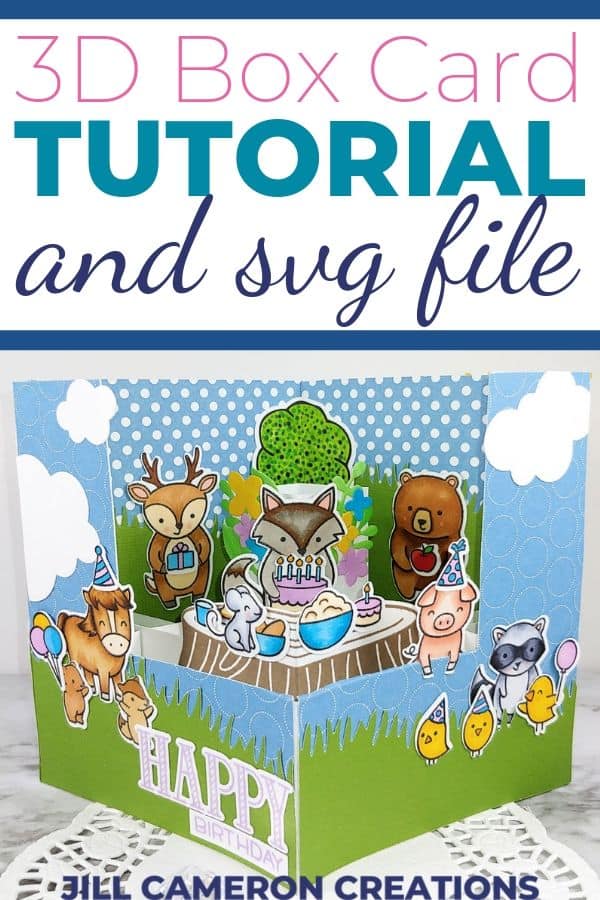
Today I’m sharing a 3D box card! This isn’t the typical pop-up box card. This one has layers that aren’t just across the body of the card. The inside layers stack and fold at the center so the layers are super dimensional. This card is much larger than an A2 card. It’s about 8″ x 5″. Before we get started don’t forget to grab your FREE SVG file of the 3D box card.
Now, here’s a look at the 3D box card laying flat. (Look at my pretty nails too! They don’t look like that anymore sadly.)
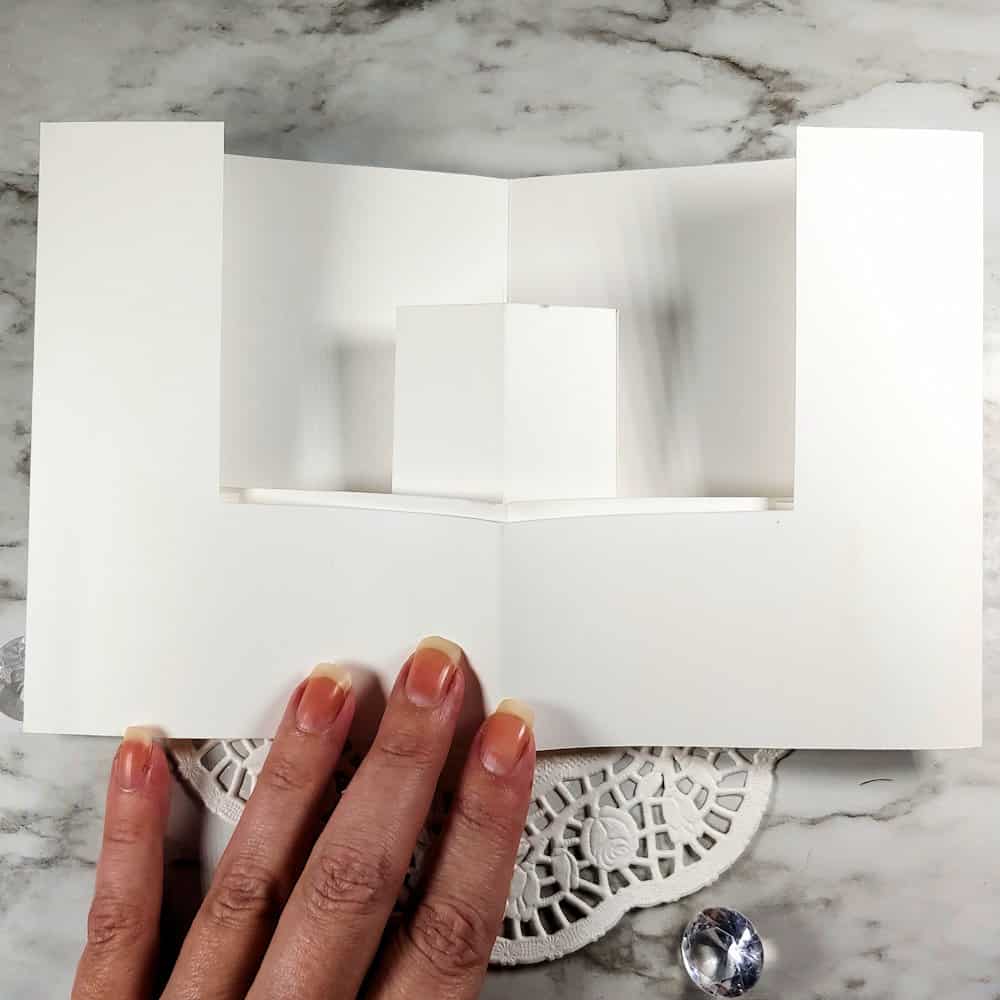
This is the above, inside view of the card. Look at all of those layers. Sitting up like this the base is 4″ x 4″ and it’s 5″ tall. I used 80lb Neenah Solar White cardstock to create the base on the card. I would not recommend using a heavier paper. The card would be more difficult to fold and put together. Plus, I added more paper to this so I didn’t want it to be too heavy.

I have to warn you that this card is LARGE and takes a lot of images to cover it. I used five different Lawn Fawn stamp sets. And because there are so many images, I used my PixScan mat with my Silhouette Cameo to die cut each of the images. If had die cut these using the coordinating die, I’d have been here for hours. It took me about 2 hours to Copic color all of the images but I kept the color pallet really simple and used the same colors over and over. We’ll talk more about the coloring process a little later in the post.
Note: The complete product list is at the bottom of this post.
Affiliate Disclosure Policy
This post contains affiliate links for your convenience. This means if you make a purchase after clicking a link, I will get a small commission with no additional cost to you as the consumer. Jill Cameron Creations/Jill Lipscomb participates in the Amazon Services LLC Associates Program, an affiliate advertising program designed to provide a means for sites to earn advertising fees by advertising and linking to Amazon.com. For full disclosure policy click here.

Measurements and Score Lines
There are two videos and two parts of the post for this card. The first part and video demonstrate how to put this card together and the second part and video is the decoration part.
This finished size of this card is about 8″ x 5″ when it’s folded flat. When it’s open the card measures 4″ x 4″ square by 5″ tall. This card has lots of interior room to add TONS of elements plus a background. The scoreline information for the 3D box card is next.
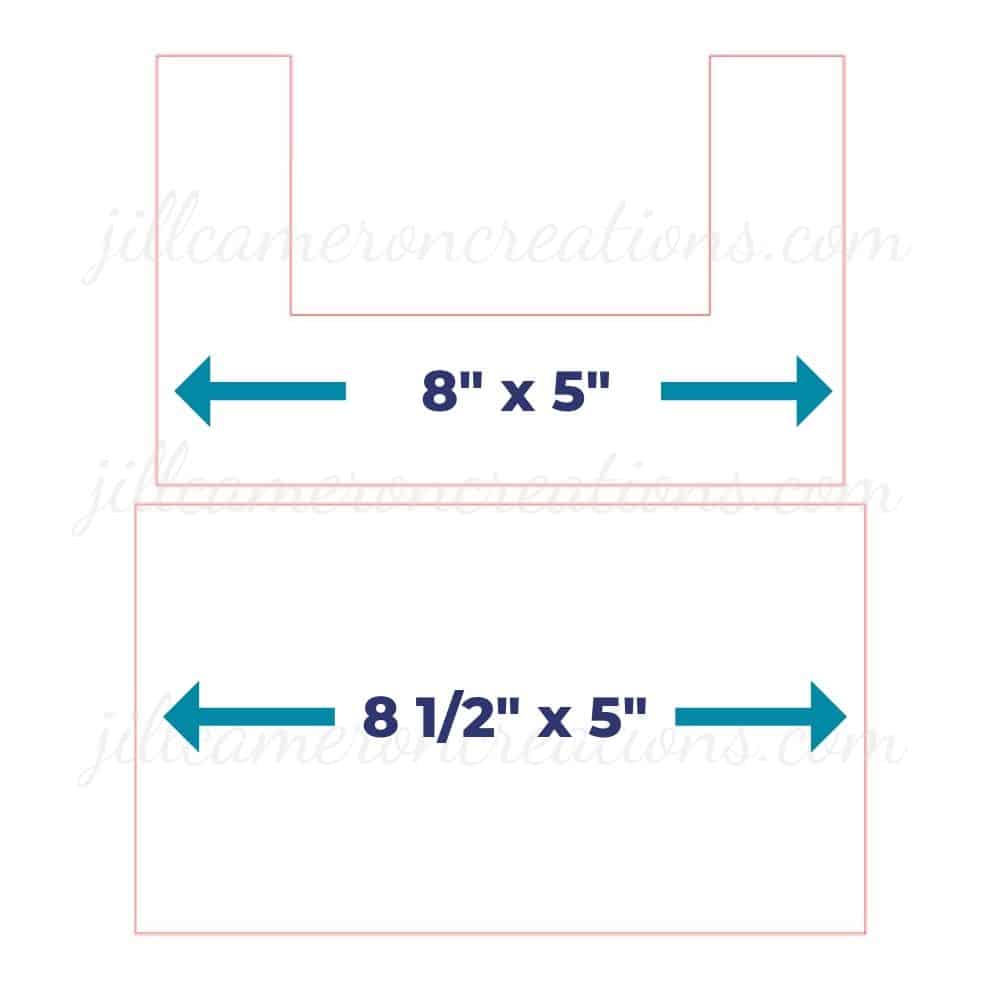
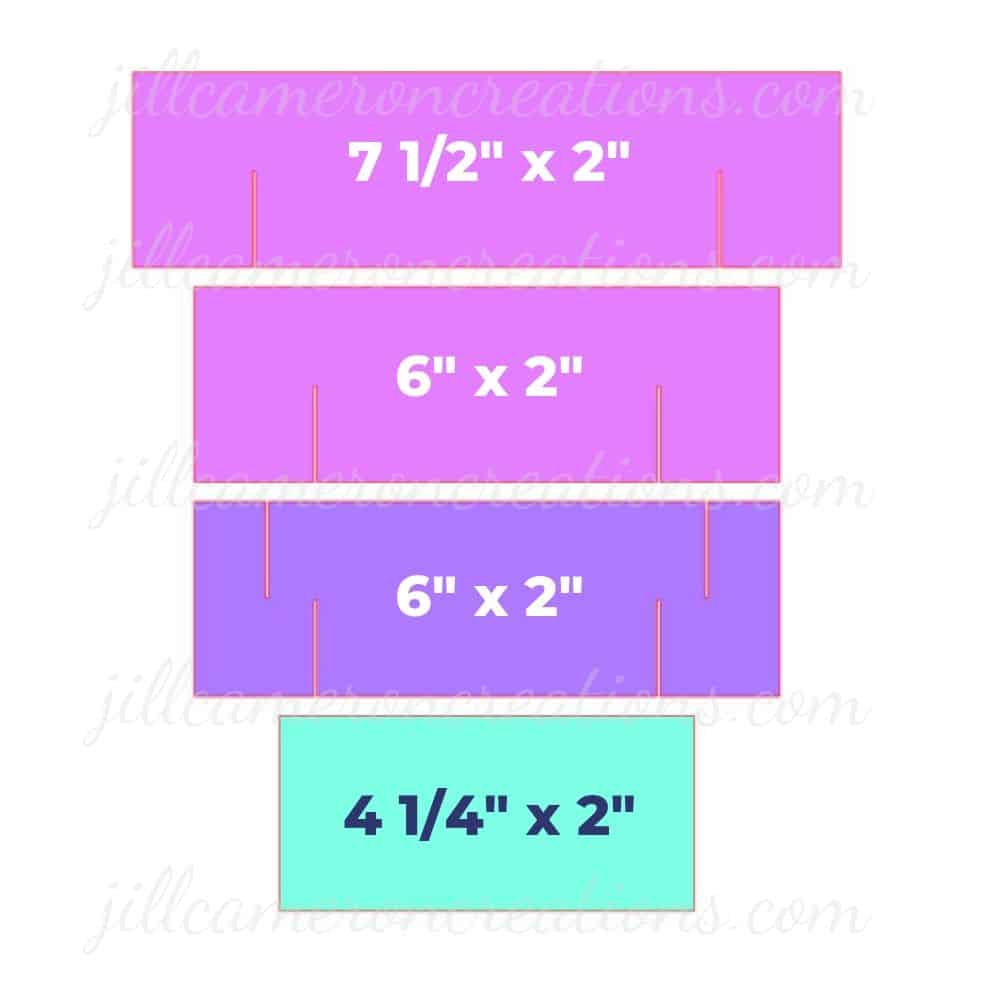
The score lines for the 3D box card are super simple.
- 8 1/2″ x 5″ panel – Score 1/4″ from each end and right down the middle
- 8″ x 5″ panel – Score right down the middle
- 7 1/2″ x 2″ panel – Score 1/4″ from each end and right down the middle
- 6″ x 2″ panel – Score 1/4″ from each end and right down the middle
- 4 1/2″ x 2″ panel – Score at 1″, 2″, 3″, and 4″
I highly recommend using Scrapbook.com’s 1/8″ double-sided adhesive tape for this project. It’ll save you a ton of time and a headache over using a liquid adhesive.
Decorating the 3D Box Card
It took a TON of images to decorate this card! There are over 50 colored images on this card. I packed as many images as I could on this 3D box card. The tree is my own design and you can check out how I colored it over on Facebook.
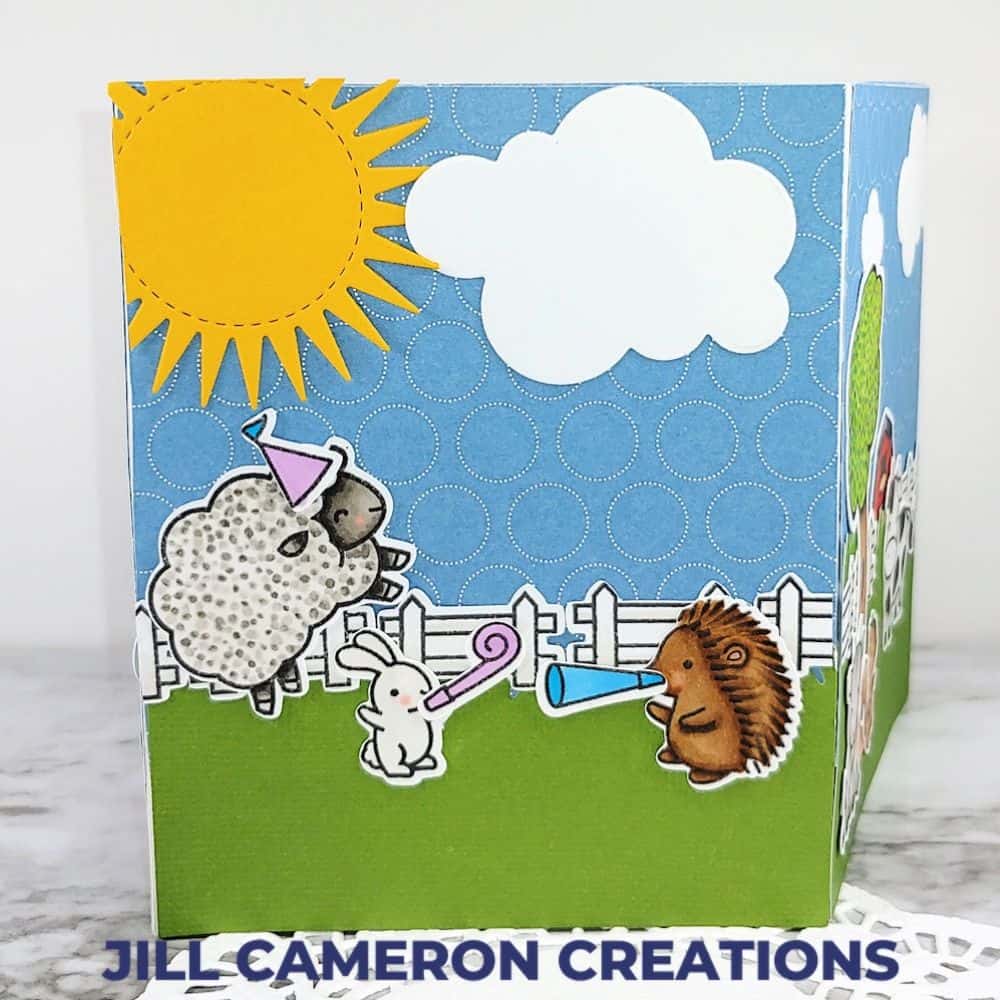
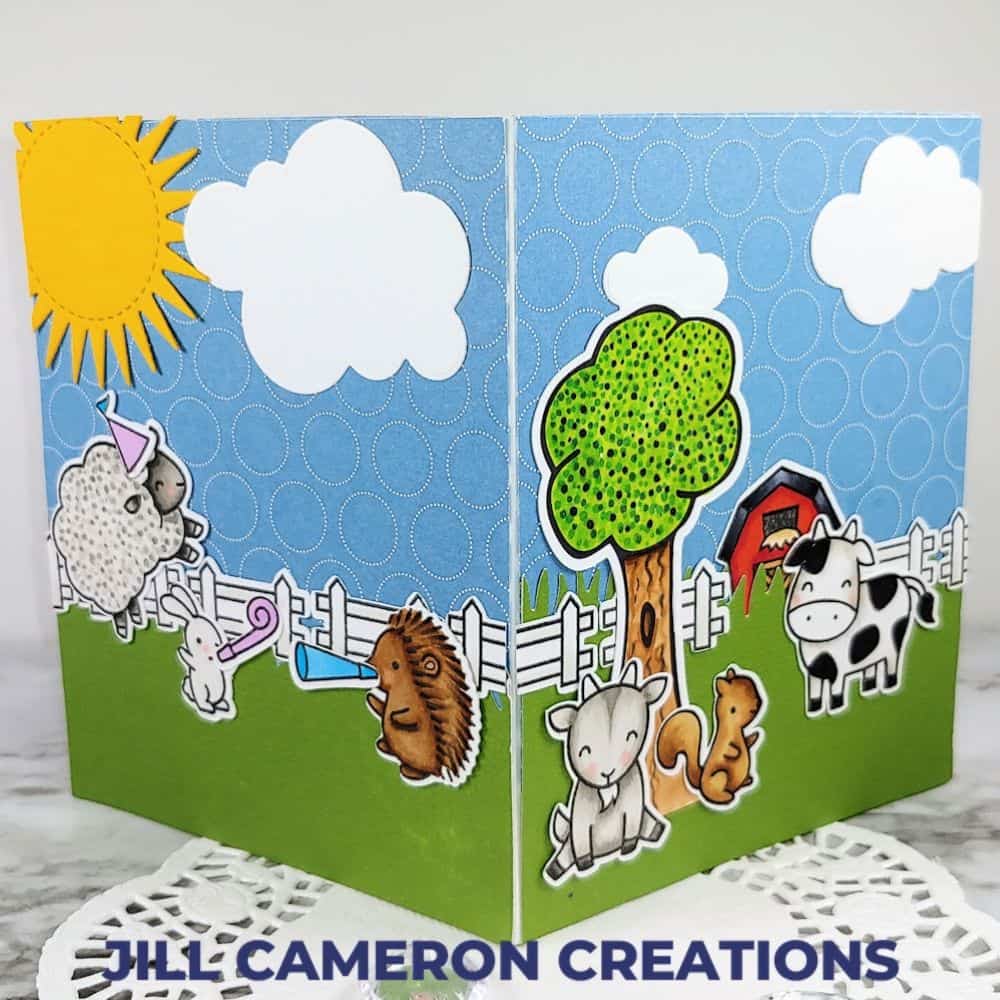
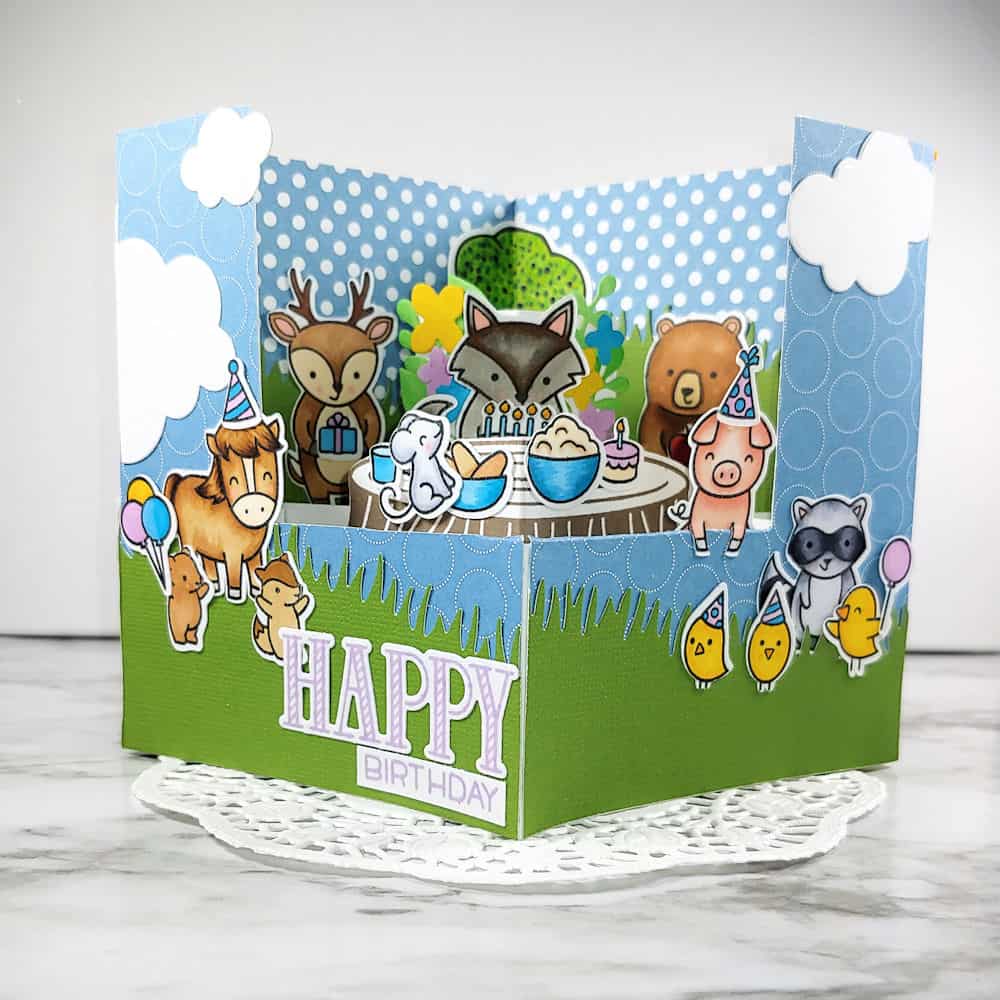
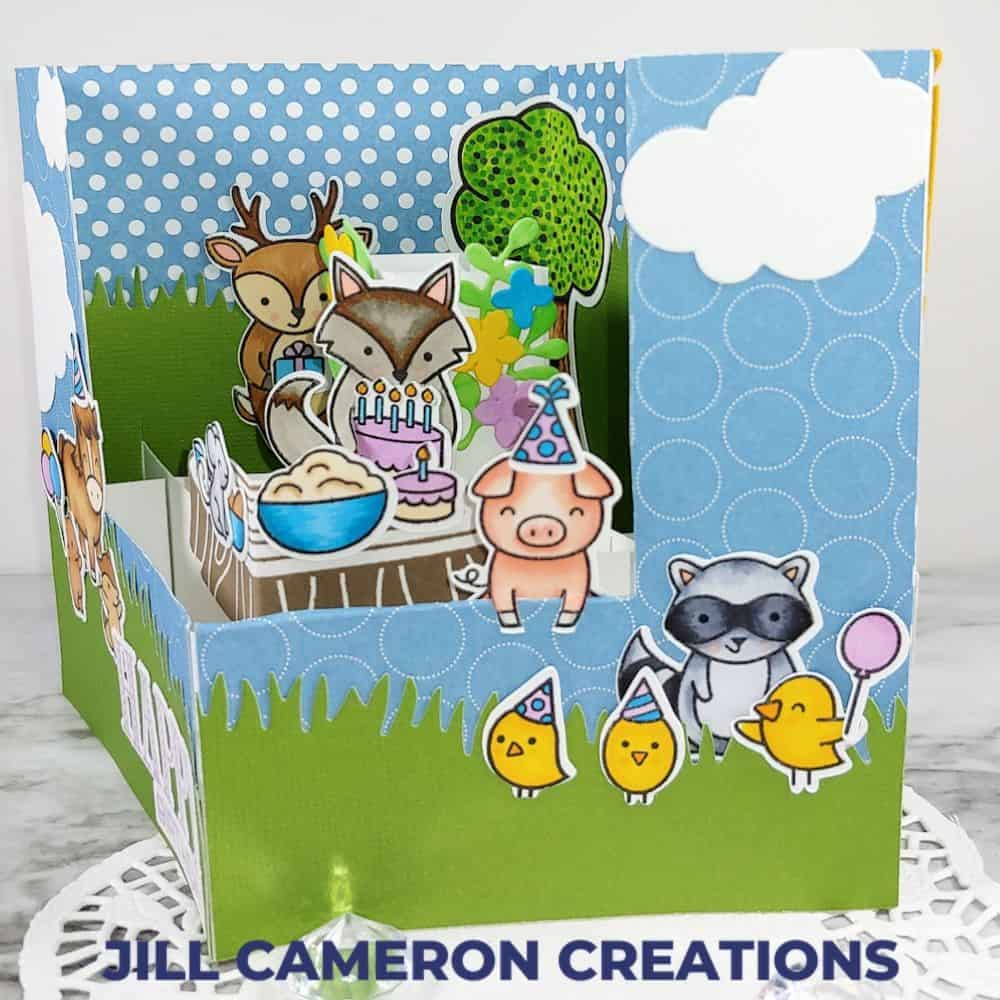

That’s a lot of images!!! This card was so much fun to make too! I colored my images while I was watching (okay listening to is more like) television. I kept the color pallet of my Copic markers very simple. I used the same colors on everything.
You’ll notice that I didn’t shade every single image either. Like the cake, Mr. Wolf is holding isn’t shaded. When you’re working on a card this large, with this many elements, you don’t have to shade everything exactly or at all. Especially those tiny elements like the cake. Keep the focus on the important parts and in this case that was the animals.
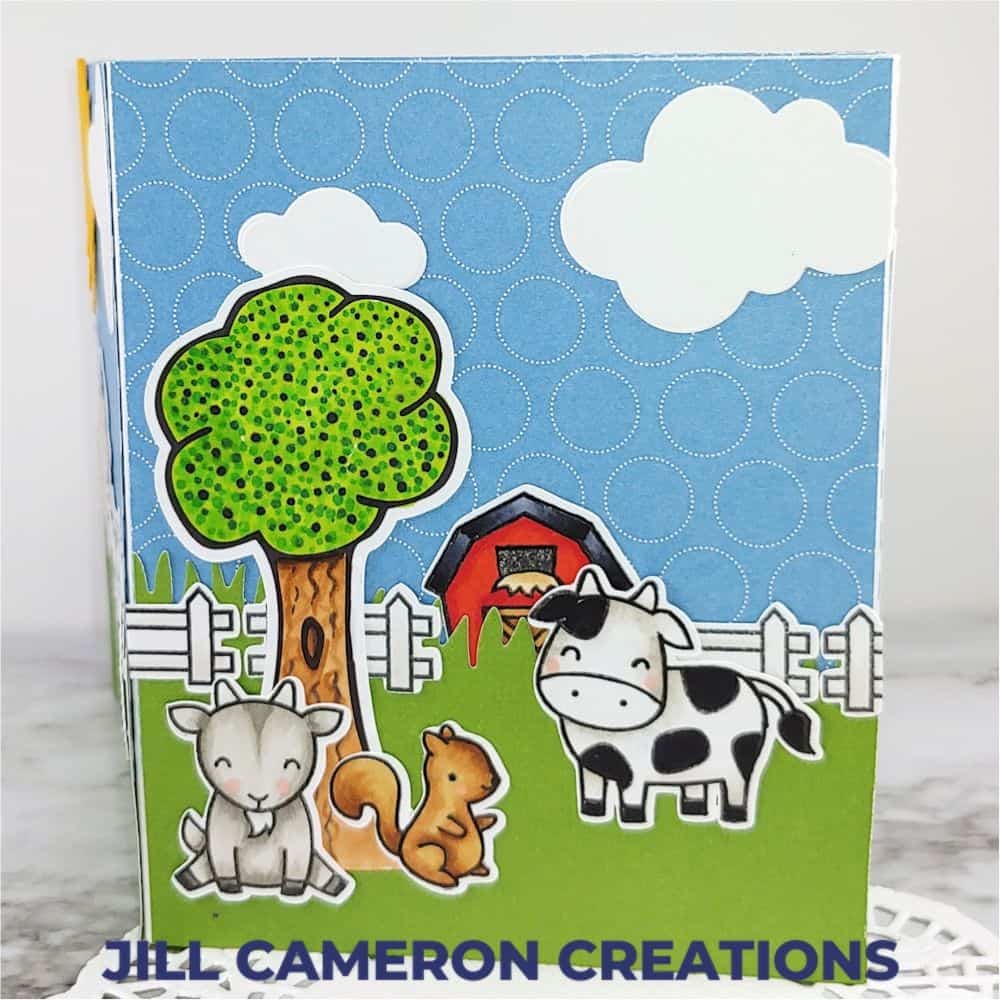
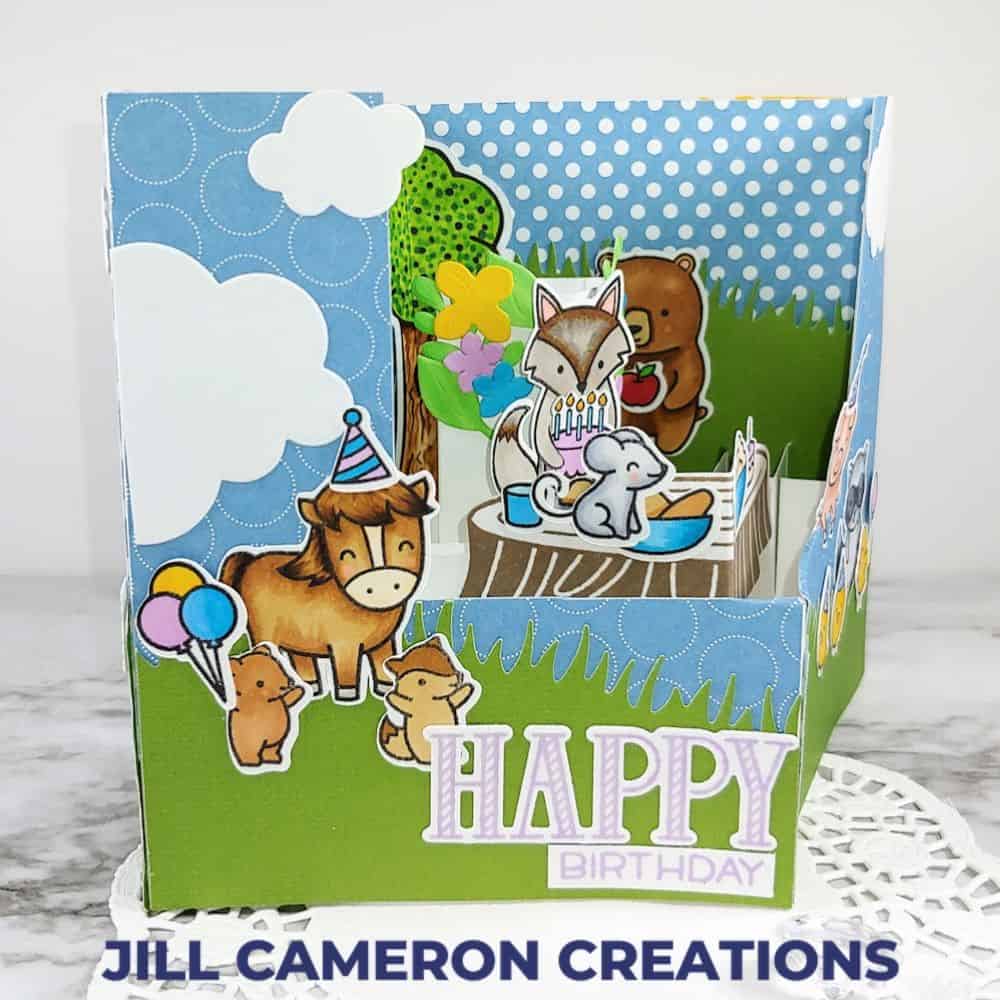
Another key to creating depth in this kind of card is to layer the images. Let’s take a closer look at the front of the card.

Notice how my crooked mouse (don’t worry I fixed him and he’s straight now) is sitting in front of the bread bowl. And the little yellow birds are in front of the grass and the raccoon, while the raccoon is behind the grass. I even tucked the little squirrel behind the corner of the sentiment.
And on the back…

The barn looks like it’s further back in the distance because I tucked it behind the cow and the grass and made that tree so large. Those various sizes images in the proper places creates that field of depth even when there is only one layer to decorate.
I hope you have fun making this card and look forward to seeing your 3D box card creations!
Be sure to check out my other pop-up box cards. These use the Lawn Fawn die and are smaller cards.
Scalloped Pop-Up Box Card Back to School
Scalloped Pop-up Box Card Magical Day

See more Silhouette Projects
TARDIS Card SVG
Build a House Card
Foil Quill Designs


Jill, this is a phenomenal card. You squeezed in so much dimension so beautifully. I love just love looking at all the details. Thank you for sharing this.
Thank you so much, Lucy! It was definitely a labor of love.